Thermal Paste on CPU Pin? How to Remove Thermal Paste from CPU Socket?
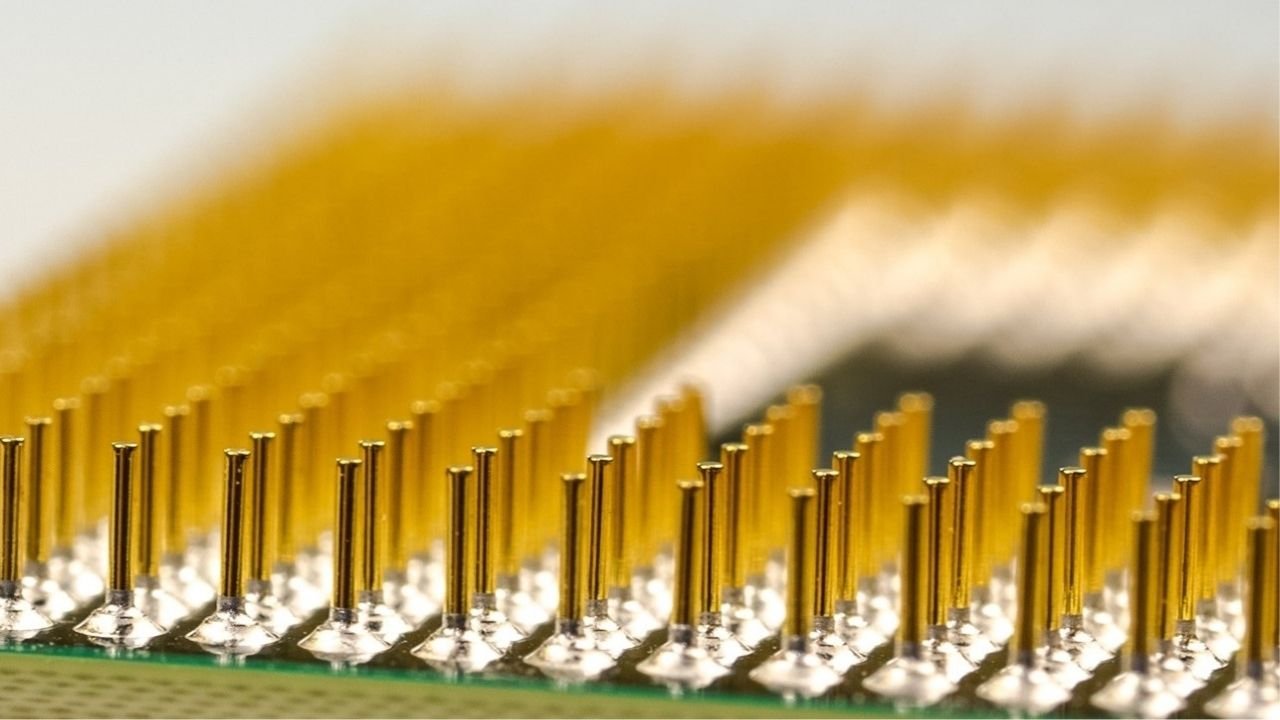
Ideally, thermal paste and the underside of your CPU should never meet. And this isn’t a “star-crossed lovers” scenario – thermal paste should only ever be applied to the IHS (Integrated Heat Spreader) of your CPU where the heat is transferred over to the heatsink or waterblock. The underside of the CPU is more sensitive than the IHS. Things like moisture, oil from your fingers, and even an uncontrolled electrical current can cause harm to a chip if allowed onto the pins.
But things happen. Maybe you had some leftover thermal paste on your gloves or another component, maybe you were replacing your CPU, or maybe some thermal paste accidentally dripped down into the socket. Don’t worry, there’s no reason to panic… maybe. Keep reading to find out why.
What happens if you get thermal paste on the pins or socket?
This actually depends on what type of thermal paste you are using.
It is important to make sure whether the thermal paste is electrically conductive. You can usually find the information on the packaging or through a quick google search. If it is, then you may want to start looking for a new CPU after getting paste on the pins, or at the very least, consider that there might be some damage to your current one. At this point it would also be important to not come into contact with unnecessary electricity – that means doing the rest of this process grounded and preferably on top of a non-conductive material.
However, if your thermal paste is not electrically-conductive, you’re probably in the clear. Despite their sensitivity to substances, CPU pins can also be unusually resilient if handled in the right way. There is a straight-forward and easy process to clean them.
How to clean thermal paste from CPU pins?
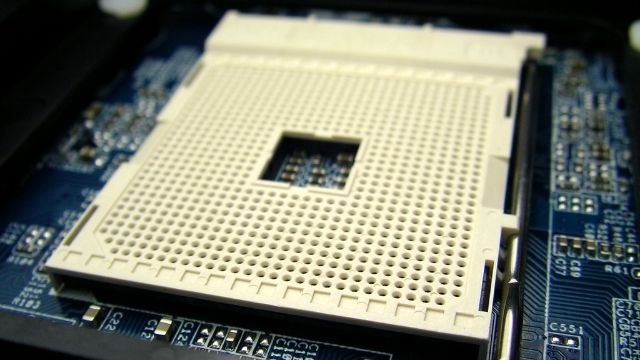
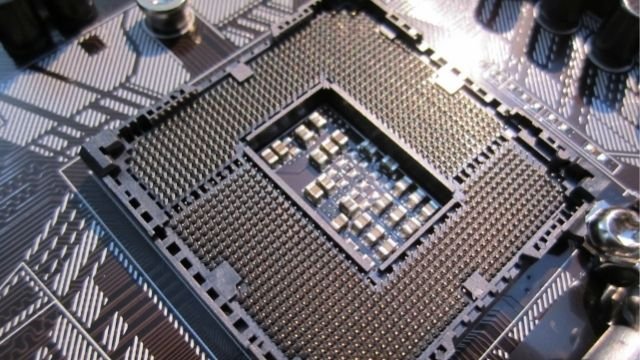
There are generally two types of CPU sockets: Pinhole socket (PGA) and Pin Socket (LGA).
For Pinhole socket (PGA)
A toothbrush is very useful in this scenario. Assuming you’re using a PGA connector (like the ones AMD uses for most of their chips), you’ll need a toothbrush with soft bristles to be able to gently rub off the thermal paste without damaging the pins. You’ll also need a substance that isn’t conductive and won’t leave moisture on the chip after the process is finished. For this, we recommend isopropyl alcohol. The higher the quality, the better. Usually 99% is recommended as it would dry faster but anything over 91% will do the trick.
Your shopping list is:
· Soft bristle toothbrush
· Isopropyl alcohol (91% or higher)
· Paper towel
The process:
1. Pour a little bit of isopropyl alcohol into a cup or glass
2. Soak the toothbrush in it for up to a minute
3. VERY GENTLY scrape the thermal paste from the inside of the processor outwards
4. When the toothbrush gets dirty, wipe it off on the paper towel and add more alcohol
5. Once you think all of the thermal paste has been wiped off, let the CPU dry for 2 minutes
For Pin Socket (LGA)
However, if you’re working with an LGA connector like those that Intel uses, the process may be much easier. As LGA connectors don’t have pins on the underside of the CPU, you can simply use a paper towel with alcohol or a specialized wipe to gently wipe off the thermal paste.
We recommend the Kooling Monster KLEAN-01. It uses a specialized formula which effectively cleans thermal paste off of any surface – so you won’t need to bother yourself with what kind of alcohol to buy or how much to use.
What happens if you don’t clean thermal paste off CPU pins?
At this point you might be thinking “that’s all well and good, but do I really have to clean it? Can’t I use it as it?”
Answer: Yes, you do. And no, you can’t.
Let’s break this down. You may already know that the reason you apply the thermal paste to the top of your CPU (or the IHS) is because that’s the part that transfers heat. But what about the other side? That’s where the heat is initially coming from, but why does that happen and what’s so important about it?
Without going into deep detail, a CPU takes instructions from your input, processes them, and then spits out some sort of output. Hence the term “processor”. So if you tap on a key on your keyboard, the CPU receives the tap, processes it, and quickly spits out a letter on the screen. On the physical level, what this involves is getting the electrical signal or the “input” into your CPU. How? You guessed it: through the pins.
(Though, realistically, this involves billions of signals going in and coming out which is where the heat is generated.)
There are generally 3 kinds of pins in a CPU: Address Pins, which transmit address values (i.e. the “location” of your keyboard, mouse, microphone, etc.), Data Pins, which receive data (i.e. you pressing a button), and Control Pins which do a bunch of stuff mostly to do with… well… control. No matter what the pin type is, it requires a clean an unobstructed space to communicate with the rest of the components and do its job.
As we’ve discussed before, lots of substances can interfere with pin function like oil or moisture. Or, in our case right now: thermal paste. By not removing thermal paste from your pins, you are effectively obstructing your computer’s processing power. Depending on which types of pins are blocked, your PC might not even boot up at all.
So yes, cleaning the thermal paste off is a must. It is also important to clean the thermal paste from the CPU – keep reading to find out how.
How to clean thermal paste off CPU
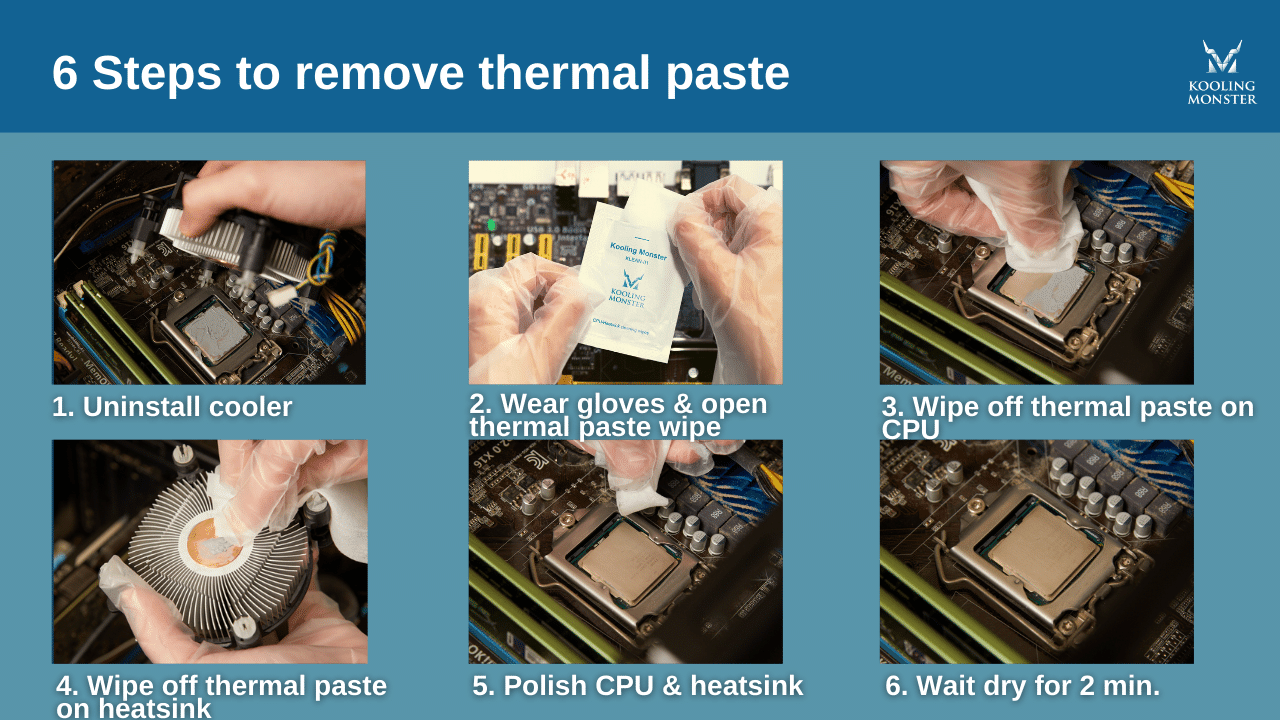
We touched upon this process in our Beginner’s Guide, but as a short reminder, here’s the process:
Here are some reminders:
Take off the cooler (this can be your stock heatsink, your aircooling heatsink, or if you’re using watercooling it would be the waterblock)
Use an alcohol + cotton swab + paper towel combo to clean the old thermal paste off your CPU and heatsink
***or just make your life easier and use the Kooling Monster KLEAN-01 cleaning wipe and gloves – the wipe is made with a special formula to remove the driest thermal paste without leaving any lint to clean up and the gloves protect your hands from the chemicals.
Wait 2 minutes for the surfaces to dry
Use any of the patterns mentioned above and apply the thermal paste onto the CPU ONLY (we recommend the cross or the buttered toast)
Reinstall your heatsink by carefully placing it on top of the CPU and tightening the screws
Check the area around where the CPU and heatsink meet for any spillage and use a paper towel (or our specialty wipes) to clean it up
FAQ
How do you clean thermal paste from CPU pins?
Cleaning thermal paste from CPU pins requires careful handling. Use a lint-free cloth or cotton swab dampened with isopropyl alcohol, and gently wipe the paste off. Make sure to allow it to dry completely before reinserting the CPU. View more about KLEAN-01 Thermal Paste Cleaner🔗
What happens if thermal paste touches the motherboard?
If non-conductive thermal paste contacts the motherboard, it usually doesn't cause harm. However, if conductive thermal paste (silver or liquid metal-based) touches the motherboard, it can lead to electrical shorts and potentially damage the motherboard. Clean up any spills immediately.
What happens if you accidentally touch thermal paste?
Accidentally touching thermal paste isn't harmful, but it can be messy. If you get it on your skin, wash your hands with soap and water. Avoid touching other computer components to prevent contamination and potential damage.
Is My CPU overheating because of thermal paste?
Overheating could be due to insufficient or incorrectly applied thermal paste. The paste enhances heat transfer from the CPU to the cooler. If applied inadequately, it could result in inefficient cooling and overheating. However, it's one of many potential causes of overheating. View more about KOLD-01 Thermal Paste🔗
Is it bad to leave thermal paste exposed?
Exposed thermal paste can collect dust and lose effectiveness over time. It's best to cover it with the heatsink immediately after application. Moreover, avoid touching the paste to prevent contamination, which could hinder its heat-conducting properties.


